
In the last few parts we have already opened a connection with the FXCM API, we have used jupyter notebooks and we have created a trading environment to get candle data and plot it with Matplotlib. We have also already opened our first position in the last part.
Now what? We need to find out how to actually use a strategy. So far I am not experienced enough to create one, so I have looked for examples that might work.
There is one from Quantnews that looks as if I could do it, so I will try this one.
It uses a module called pyti and that is described as a library that will provide calculations for technical indicators.
We should be able to calculate the values for an exponential moving average with it, so let’s find out how to do it.
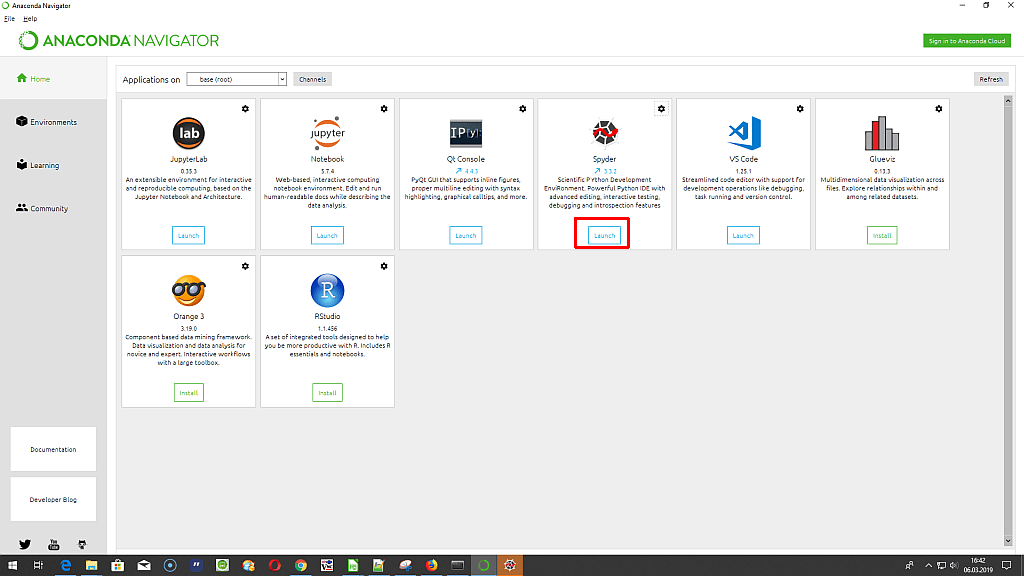
I would also like to use the Spyder IDE that comes with Anaconda, so let’s try to get it up and running.
When I launch the Anaconda Navigator, Spyder is one of the options that I can chose, so I click on the launch button.
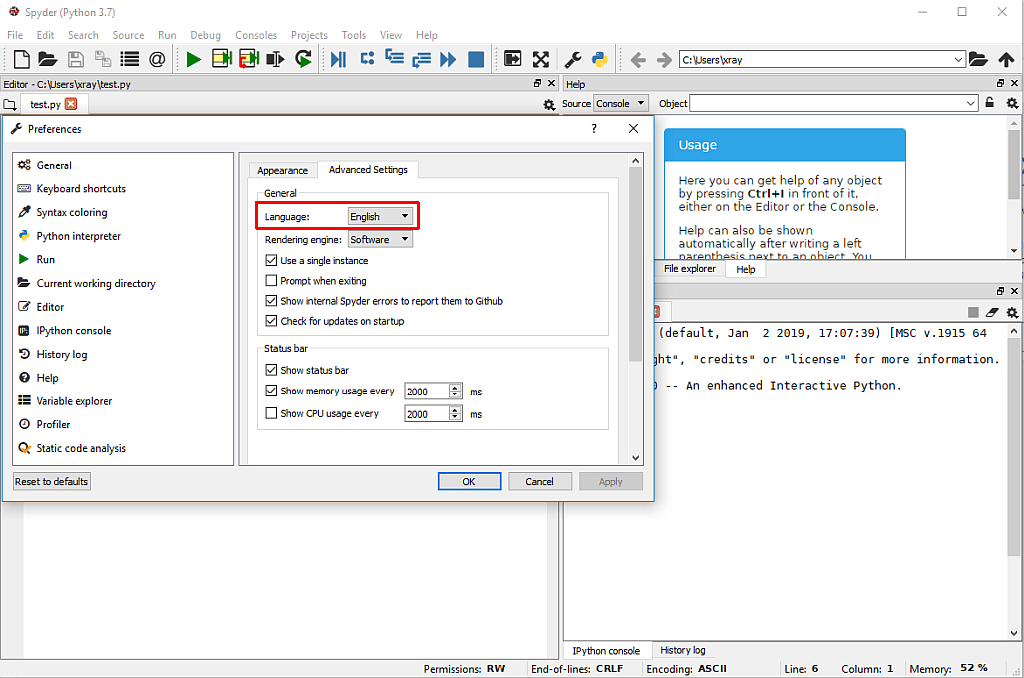
I would like to check if the connection can be established and I I am able to import the modules, so I create a quick test file and run it. It looks like I have a problem with the environment.
And the language is German, so I need to find a way to adjust that. A tutorial is available, so we need to click on tools, preferences, advanced and there we can select English.
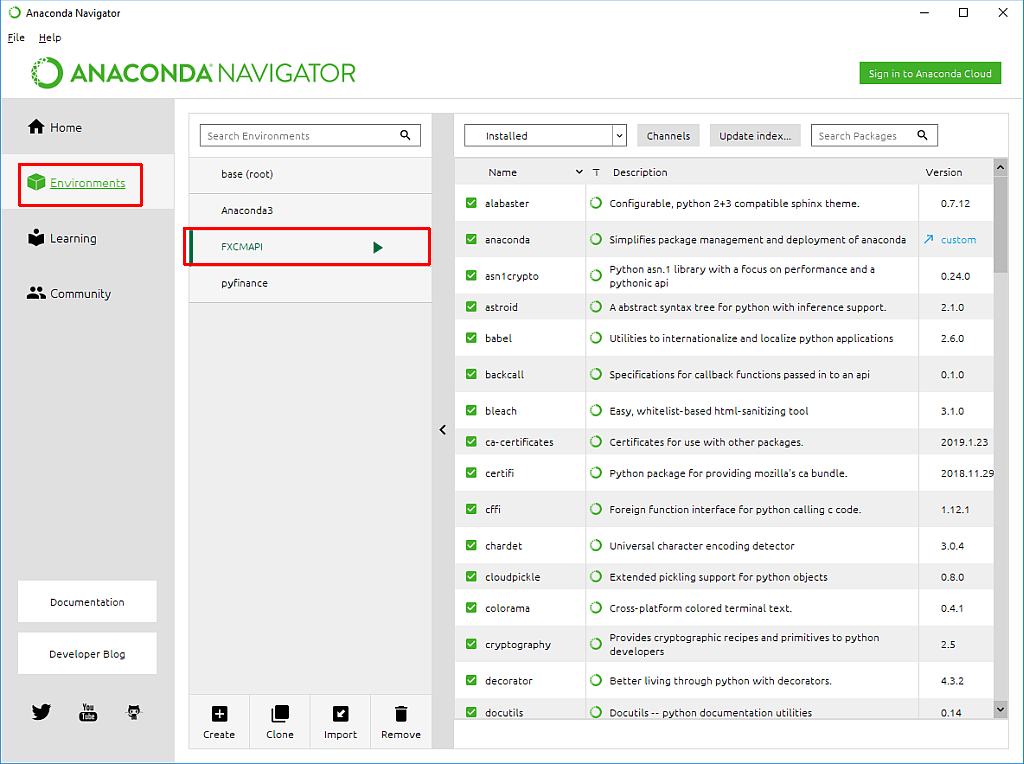
The environment settings can be adjusted inside of the Anaconda Navigator window. I click on Environments and select FXCMAPi.
A triangle symbol is showing that the environment is activated successfully.
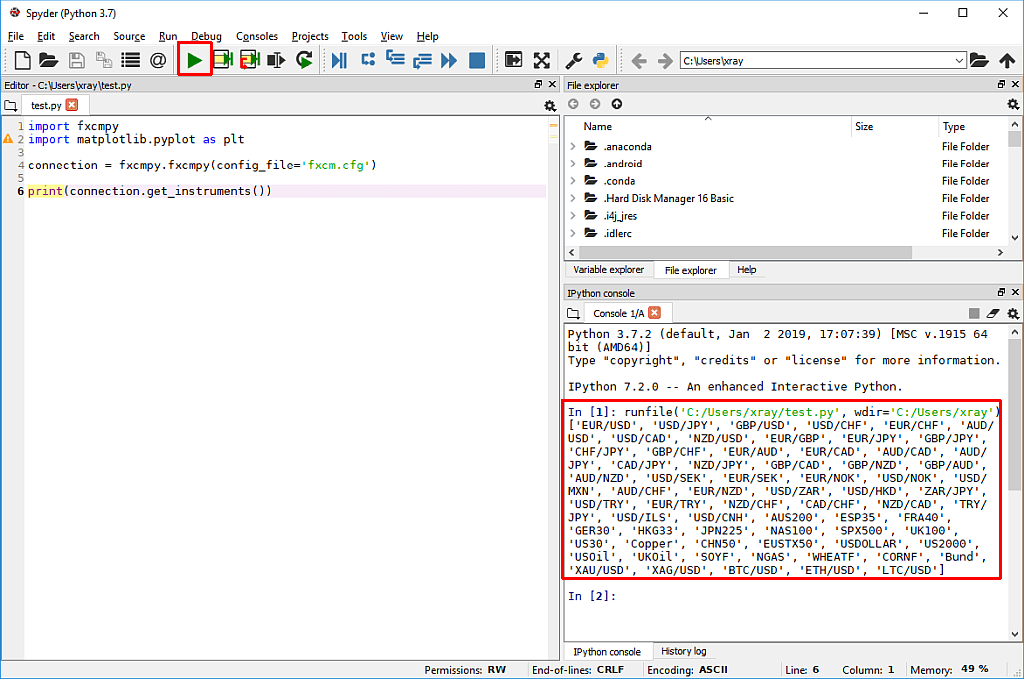
Afterwards I run my test code again and Spyder actually shows the available symbols in the console output. It takes a while, though…
So let’s create a new file for the Quantnews strategy by clicking on File – New in Spyder. Afterwards I save it as QuantNewsStrategy.py. The file shows a few lines with a creation date and a creator property.
So now I start with the import statements from the Quantnews article. Right away I get an error. It says that the syntax is invalid.
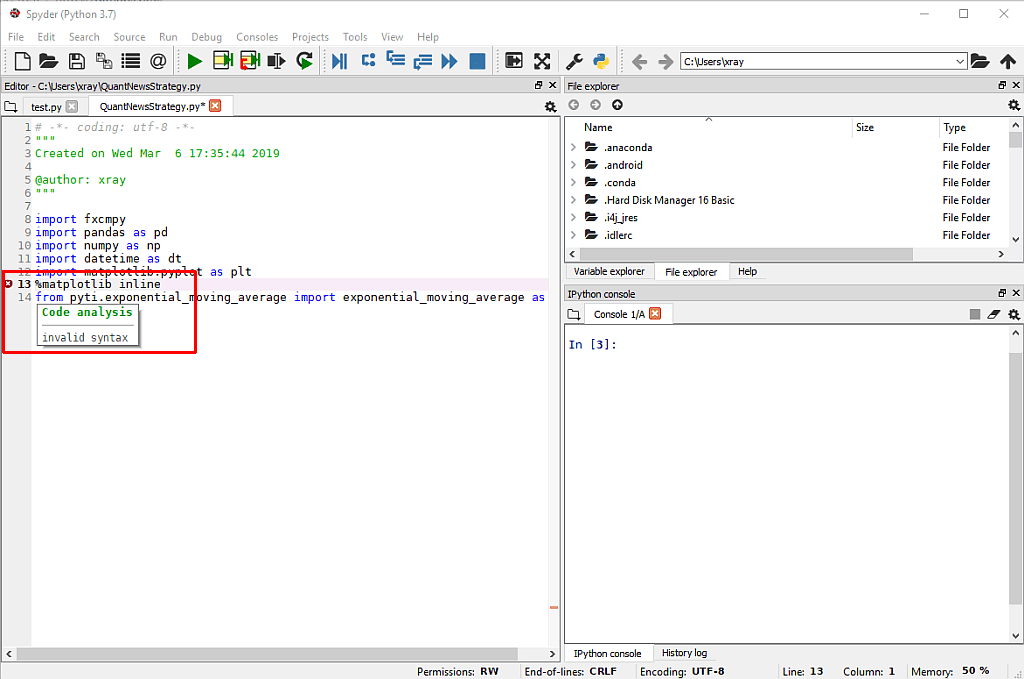
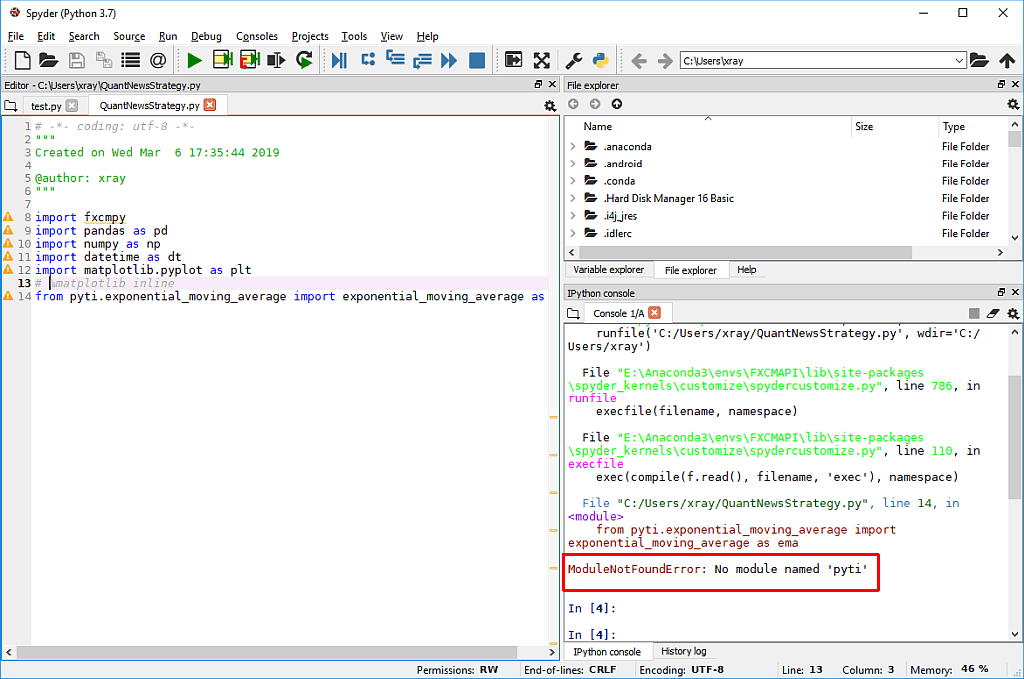
It looks like %matplotlib inline is used for rendering inside of jupyter notebooks, so let’s outcomment it for now. As I try to run the rest of the code, I get another error. Now it says that the pyti module is missing.
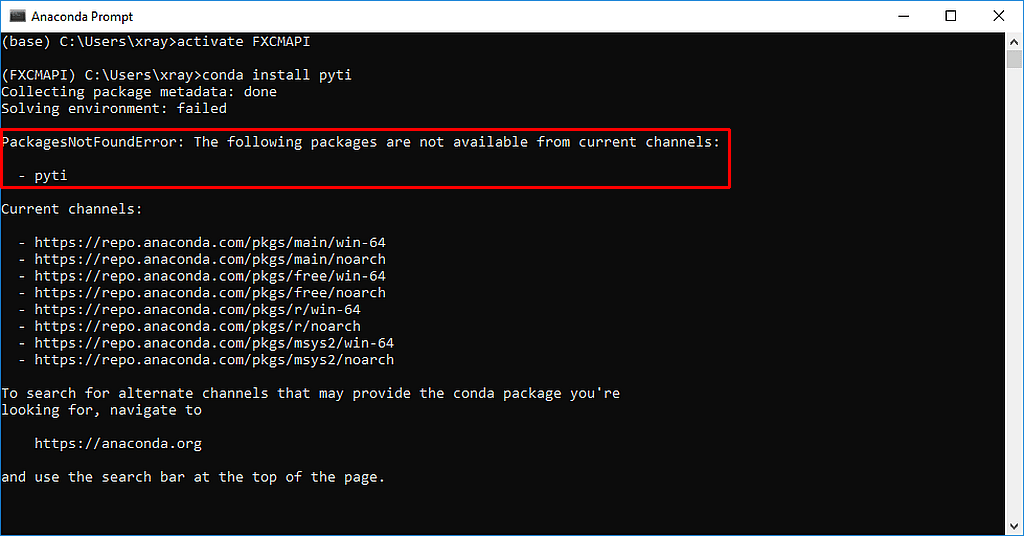
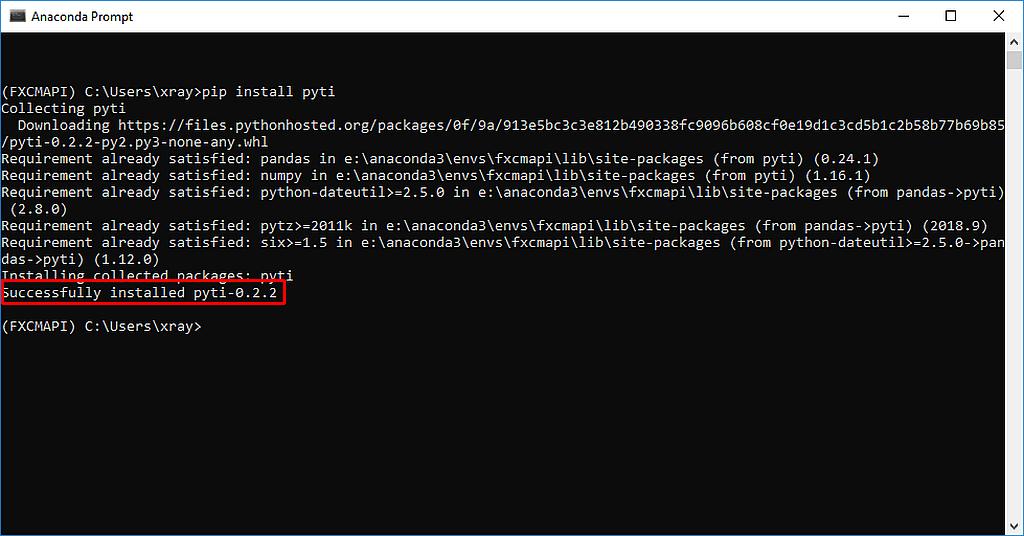
I try to install the module with conda, but it looks that it is not available.
So let’s try the installation with pip. This time it seems to work.
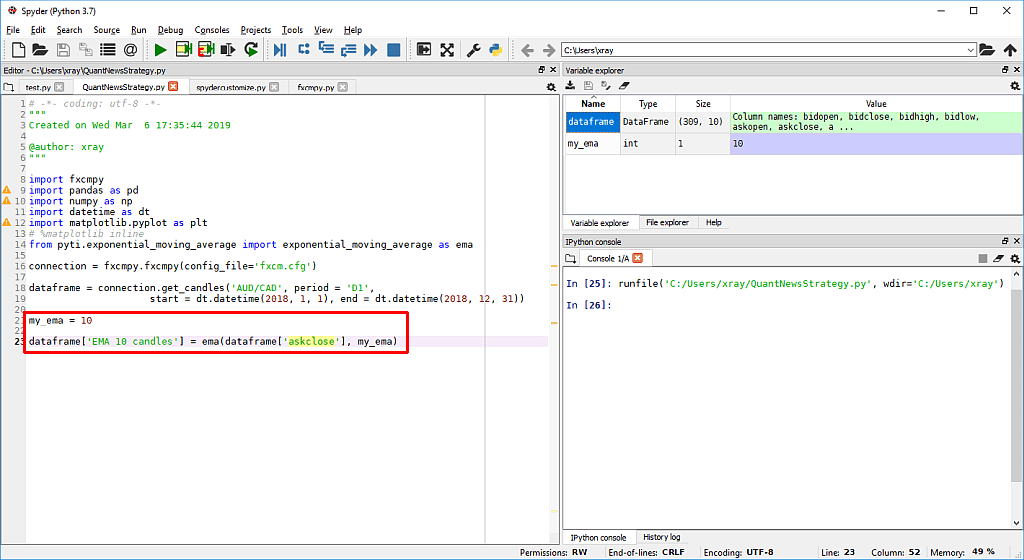
Now the module is available. The next few lines of the tutorial look familiar. We need to create a connection, using our config file that we have created in the parts before. Afterwards we get candles, in our case for the daily charts of the currency pair AUD/CAD. In this example we request the data for 2018.
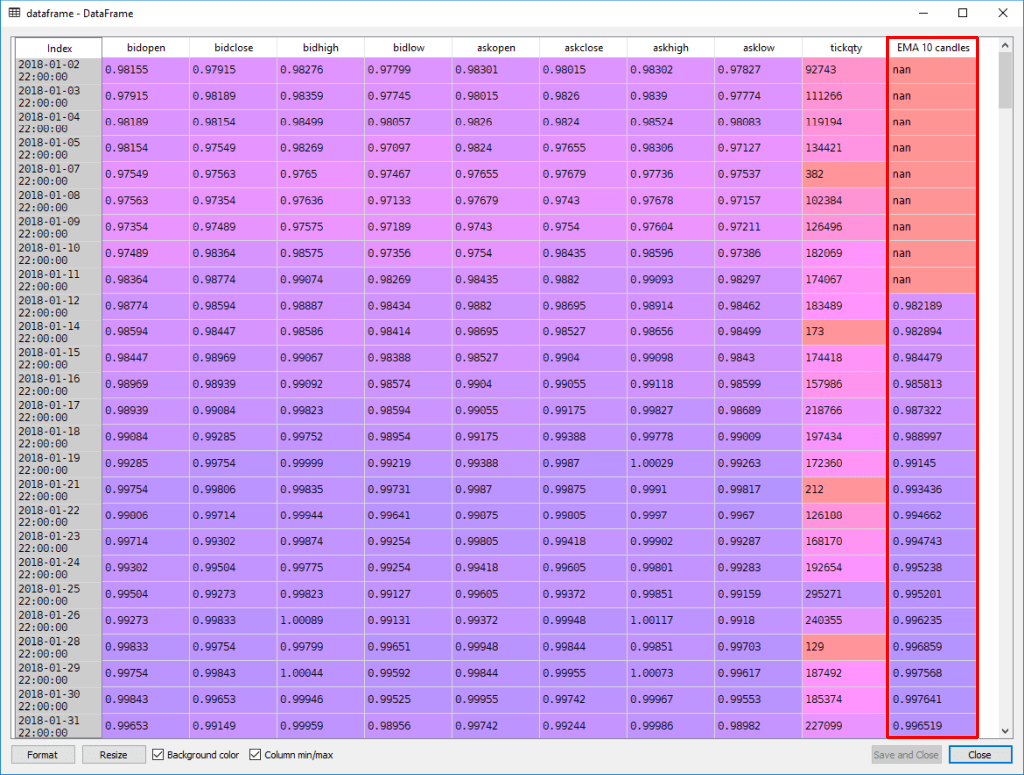
To show the dataframe, you need to open the variable explorer in Spyder and double click the dataframe.

So far so good. Actually I need to find out how that pyti module works. According to the Quantnews tutorial I should be able to define a value for the number of candles that my exponential moving average is going to use. I will use 10 candles in this example.
Afterwards I will add another row to the dataframe, it will be labled “EMA 10 candles” and show the current value for the exponential moving average of the last 10 candles.
That can be done with the following code.
When I now open my dataframe in the variable explorer, I actually see the desired values – for most of the columns. We have no values for the candles 1-9, because we can only calculate an EMA for ten candles when we have at least ten candles in the history.
Okay, so far so good. By now we have Spyder and pyti up and running, we have received historical data from FXCM and we have calculated the values for an exponential moving average based on 10 candles.
Right now we could compare the data of the candles and the data of the EMA to make decisions what might have worked in the past, but we need to find a way to actually use this kind of logic for live trading. We will continue to do that in the next part…