
I have tried to continue with my Udemy course for Python trading, but it seems to be targeted for people who try to predict the future.
From my MQL4 and MQL5 studies I know, that I will never see the finish line if I spend to much time with details about “inner joins of indexed data frames in pandas” upfront.
My brain would simply turn off.
So I bought some more stuff and finally found two good videos to get started as a newbie.
https://www.youtube.com/watch?v=dx5UvVKui9M
https://www.youtube.com/watch?v=_mlCswQeM4E
From my former course I have already Anaconda and Jupyter up and running.
Now I do have to connect to some API to get market data.
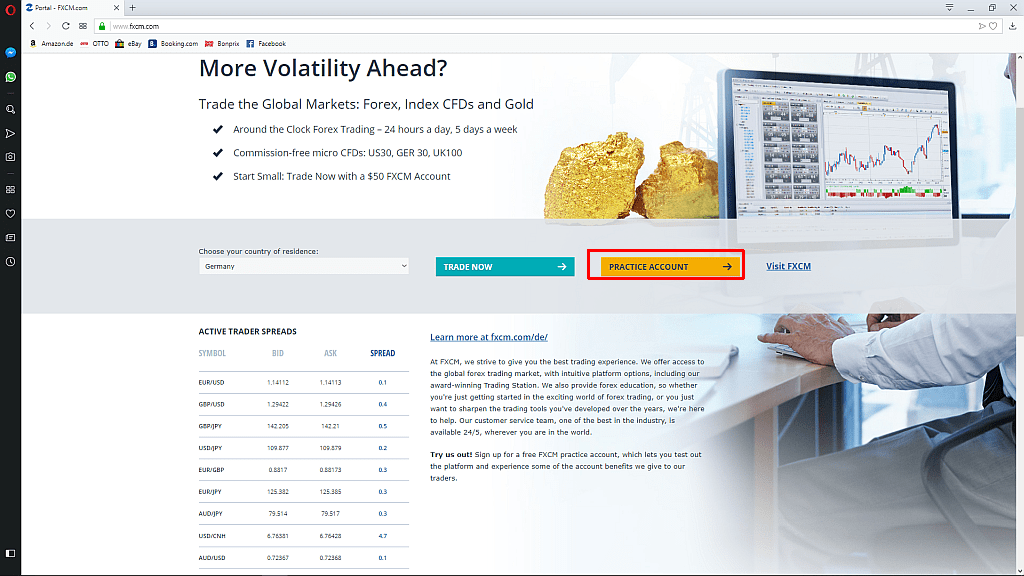
FXCM.com offers a free demo account for Python trading, so I go to FXCM.com and click on the yellow button to get a free “practice account”.
Now I need to fill in my details. They want some additional stuff, like my phone number, but I only provide the data for the fields that are really required.
On the next page I need to copy the credentials that are provided. I had almost missed that, so please make sure to save the data in a safe place before you continue….
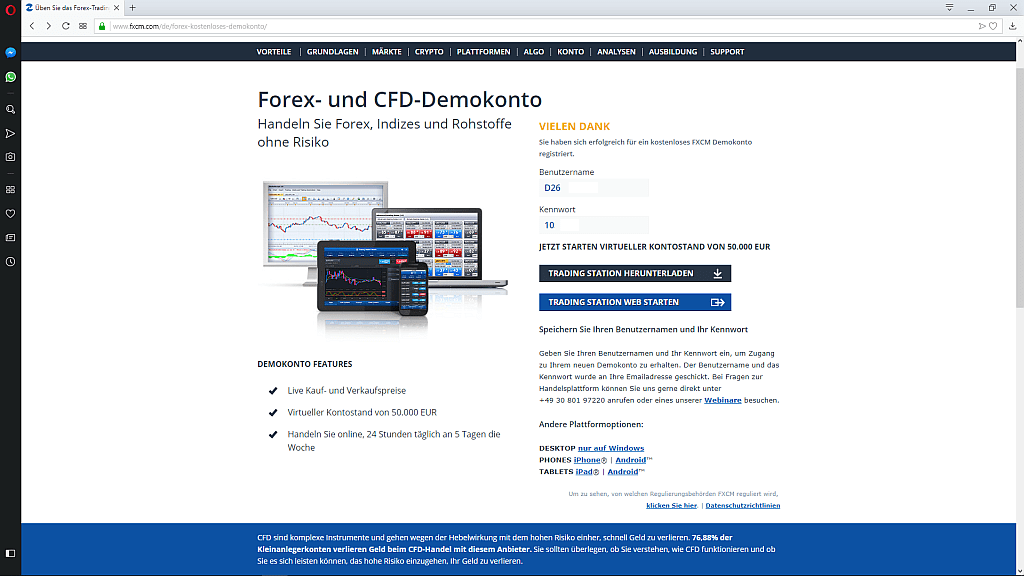
I like to use Google Drive to store that kind of data as it is hardware independent. Amazon S3, Dropbox or Onedrive would also do the job here…
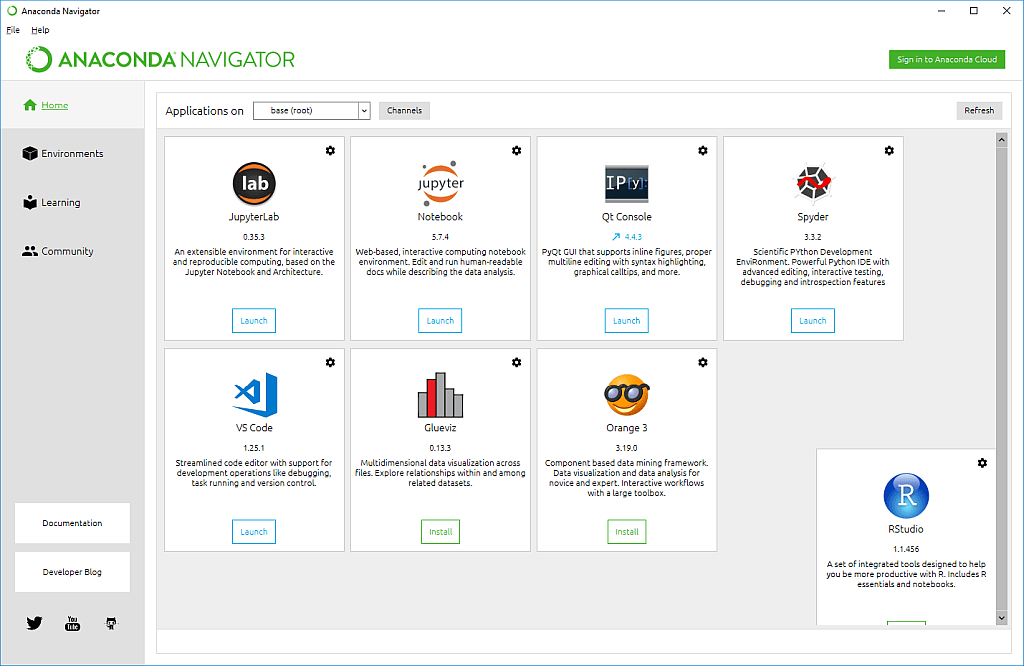
Now I need to start Anaconda, by looking for the Anaconda Navigator in my Windows start menu.
It comes up with a screen with several options, one of them is jupyter, the system we are going to use to connect with the market data.
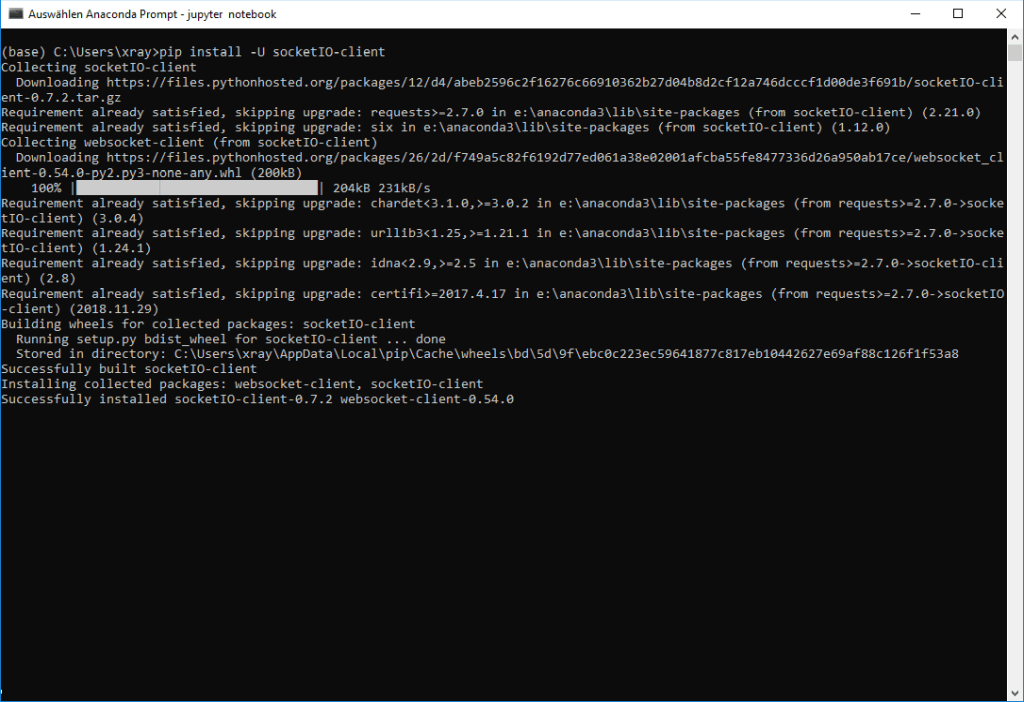
Afterwards I need to check if all the needed components are installed. I already have Pandas and Json, but I need to install the socket IO client.
So I search for Anaconda prompt on my computer and type in the following command:
pip install -U socketIO-client
Afterwards I see that the files are downloaded and the installation was successful.
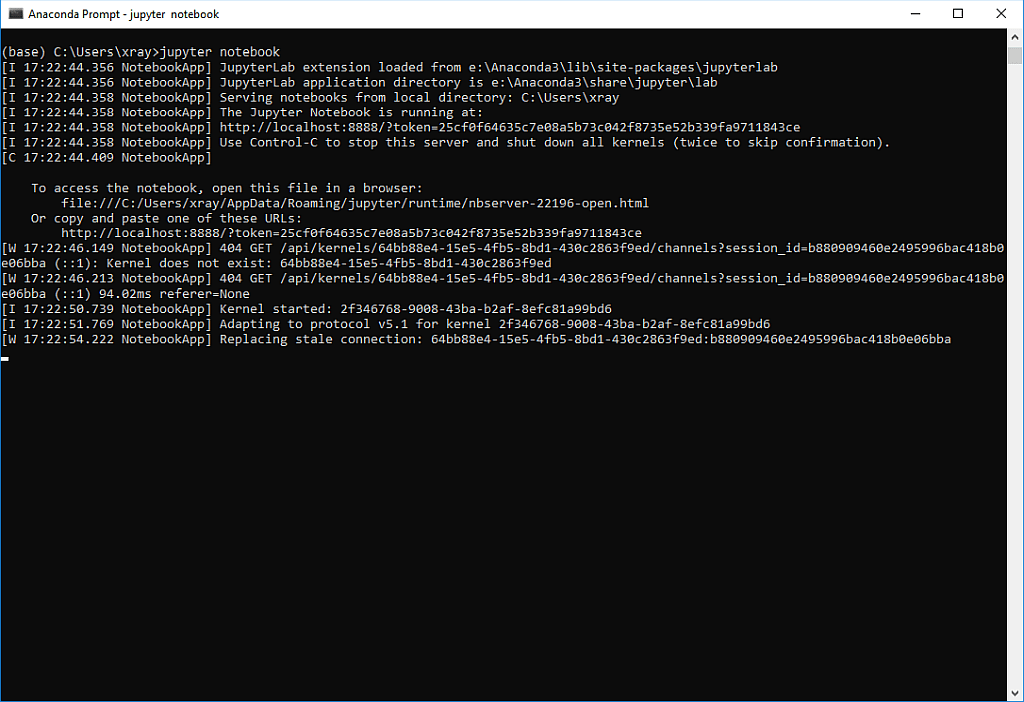
To check if everything we need is properly installed, we can import the components. To do that we need to open a new Python3 notebook by typing in the following command.
jupyter notebook
Afterwards we should see the following confirmation in our Anaconda Prompt window.
Now a new browser window appears and here we see the jupiter framework. To create a new notebook we click on the entry “File – New Notebook – Python3”.

I have named my version PYTHON TRADING – FIRST MARKET CONTACT.
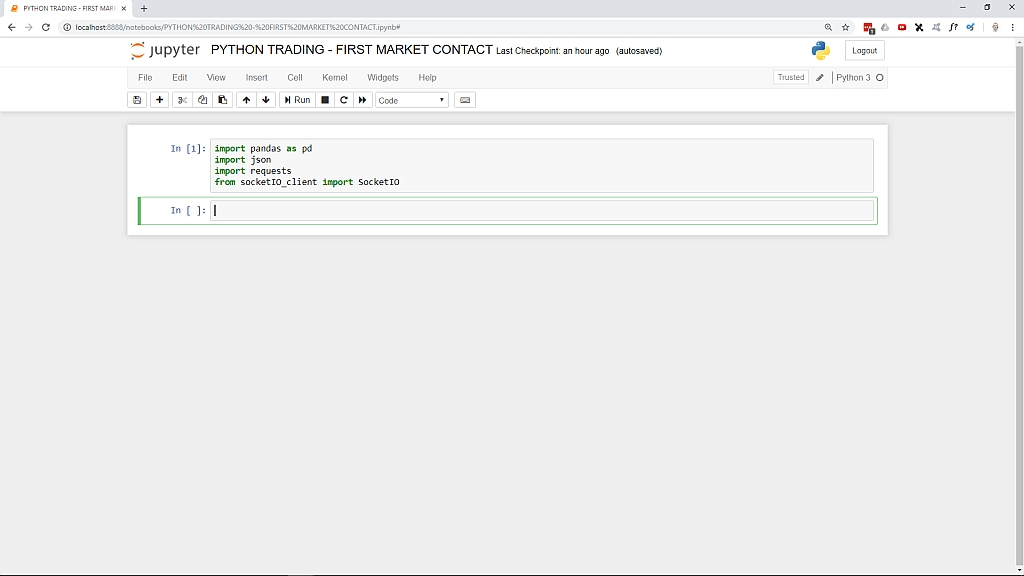
Now we can check if all needed components are installed.
To do that, we simply import them in our new notebook and hit Shift and Enter.
In my case I don’t get any errors, so everything seems to be okay.
import pandas as pd
import json
import requests
from socketIO_client import SocketIO
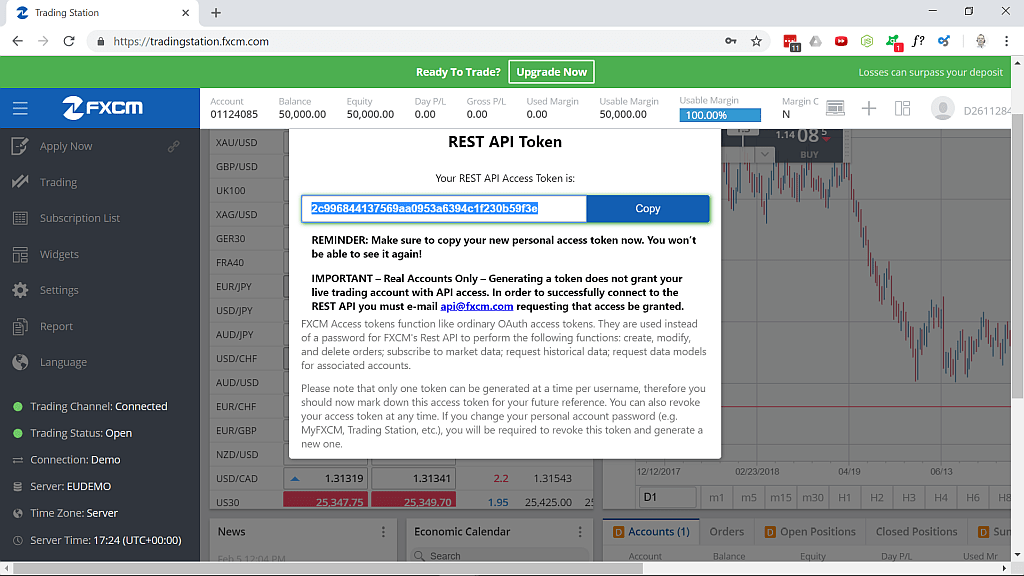
To make a connection, we need a “Rest API Token”. To get it, just go to the website and login with the credentials of your demo account.
Afterwards you can click on the user settings (right upper corner) to get the desired token.
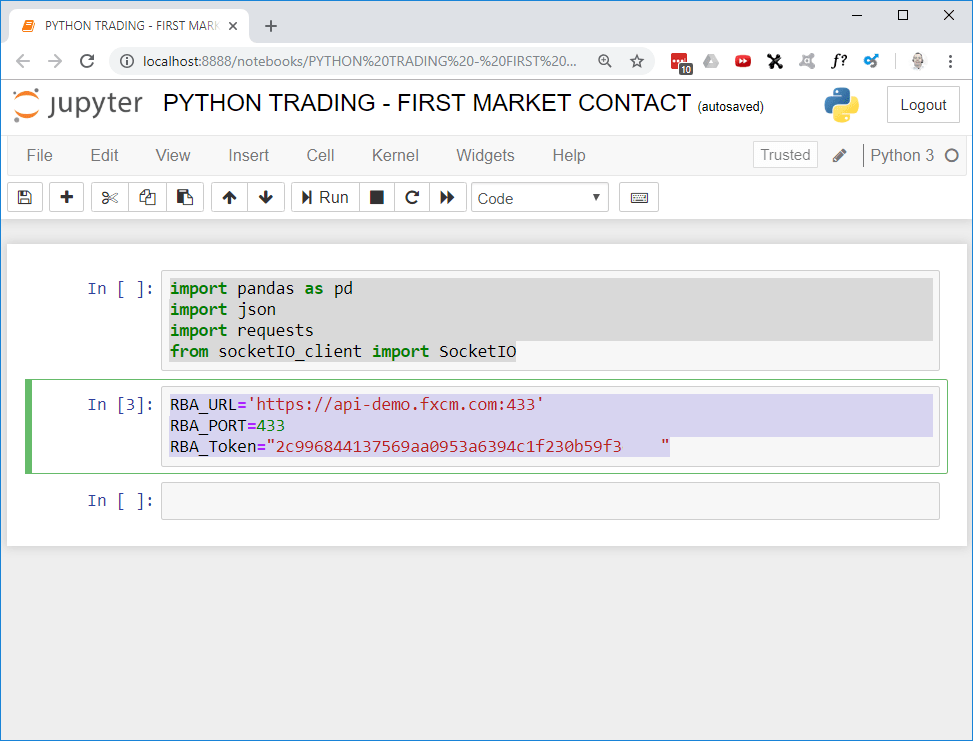
Now we use our new jupyter notebook to make the connection.
First we need to define the URL, the port and the token.
RBA_URL=’https://api-demo.fxcm.com:443′
RBA_PORT=443
RBA_Token=”2c996844137569aa0953a6394c1f230b59f3e”
Afterwards you can hit Shift and Enter. I have removed a few digits, as I am going to use this connection for my own account.
Now that we have our connection credentials, we need to make a connection.
As we can call a function as soon as a connection is made or lost, we define one function for the connection event and another one that will tell us when we are disconnected.

The next line of code is used to actually make the connection. We need to pass the URL, the port and the access token.
![]()
Afterwards we define that we want to execute the on_connect function as soon as we are connected. And the function on_disconnect will be triggered as soon as we close the connection.

According to the FXCM video, there is another token that combines the session id and the access id. They call it bearer access token.
So let’s create this one, too and print it out as soon as we have a valid session.

And that is it for now. If we run the whole code, our first contact with the trading server will be established. If everything works out, you should now see the output for the bearer access token on your screen.
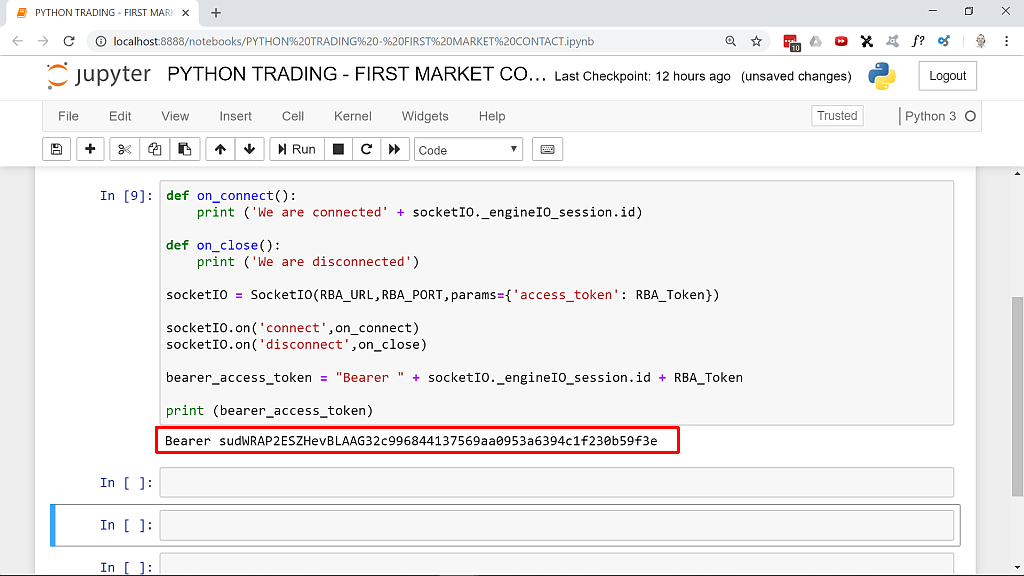
Congratulations, now you have access to the trading API.
In the next parts we need to find out, how to actually get market data…